
The Grind: Fix Your Jammed Garbage Disposal Like a Pro
Jammed garbage disposals can be very noisy and frustrating. However, it’s understandable why some people may apprehensive about trying to clear those sharp blades. Learn how to safely and easily clear a jammed garbage disposal with this step-by-step guide.
To clear a jammed garbage disposal, first switch off the power. Next, dislodge and remove any debris by manually rotating the blades. Use tools such as tongs, pliers, an Allen wrench or broom handle to avoid injury. Finally, press the reset button. Regular maintenance and using the disposal correctly will help minimize future jams.
With this simple guide, I will explain this process in more detail and you’ll be an expert in tackling jammed garbage disposals in no time. You can also discover valuable tips for keeping your disposal running smoothly in the future.
Steps to Clear a Jammed Garbage Disposal
Step 1: Turn Off the Power
Safety should always be your top priority when working with a jammed garbage disposal. To avoid any accidents or injuries, ensure that the power is completely turned off before attempting to clear the jam.
- Locate the wall switch for the garbage disposal and turn it off. This will prevent the disposal from accidentally turning on while you're working on it.
- Unplug the disposal unit from the electrical outlet located under the sink. If your disposal is hardwired, locate the appropriate circuit breaker in your home's electrical panel and switch it off. Double-check that the power is off by attempting to turn on the disposal with the wall switch. If it doesn't turn on, you're good to proceed.
Step 2: Inspect the Disposal and Remove Debris
Before attempting any repairs, visually inspect the garbage disposal to identify any visible debris or objects causing the jam. This will help you determine the best approach for resolving the issue.
- Shine a flashlight into the sink drain and peer into the garbage disposal chamber. Look for any foreign objects, large food particles, or other debris that might be causing the jam.
- If you spot any items lodged in the disposal, use a pair of pliers or tongs to carefully remove them. Never use your fingers to reach inside the disposal, as the blades can be sharp and may cause injury.
- After removing any visible debris, check the sink drain for any additional obstructions that could be causing the jam. Remove any obstructions using pliers or tongs, if necessary.
Step 3: Manually Rotate the Blades
Manually rotating the blades can help dislodge any remaining debris or objects causing the jam. This process will free up the blades, allowing the disposal to function properly once again.
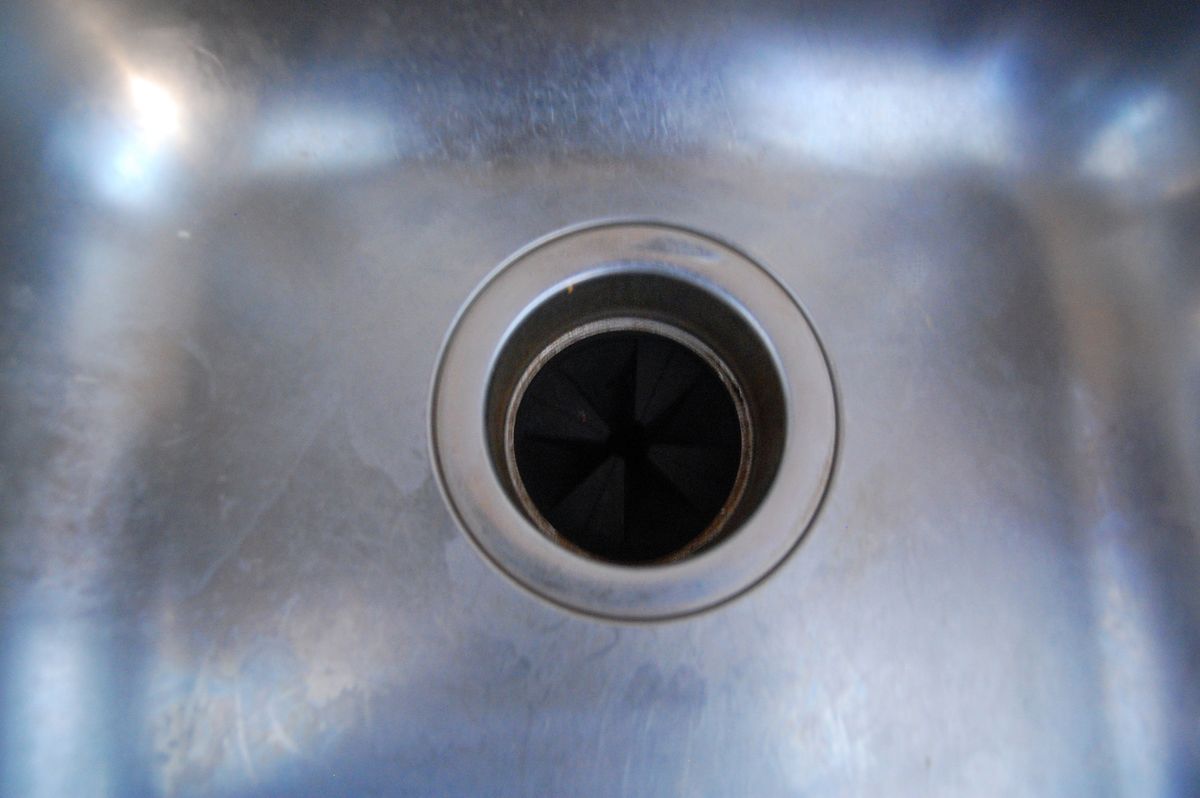
- Locate the hex-shaped hole at the bottom center of the garbage disposal. This hole is designed specifically for manually rotating the disposal's blades.
- Insert a 1/4-inch Allen wrench into the hole, ensuring a snug fit. Gently wiggle the wrench back and forth to rotate the blades, freeing them from any debris that might be causing the jam. Continue this process until the blades rotate freely and without resistance.
- If you don't have an Allen wrench handy, you can use a wooden broom handle or similar object to manually rotate the blades. Carefully insert the handle through the sink drain and into the garbage disposal chamber. Use the handle to gently nudge the blades, rotating them until they move freely.
Step 4: Check for Additional Issues
After manually rotating the blades and clearing the jam, it's essential to inspect the garbage disposal for any additional issues that could lead to future jams or malfunctions.
- Check the disposal's mounting hardware, ensuring that it is secure and properly connected. Loose connections can cause the disposal to vibrate excessively, leading to jams or other issues.
- Inspect the rubber gasket and splash guard for signs of wear or damage. These components help seal the disposal and prevent debris from entering the unit, so replace them if they are worn or damaged.
Step 5: Press the Reset Button
Once you have cleared the jam and inspected the garbage disposal for any additional issues, you may need to press the reset button on the bottom of the disposal to restart the motor.
- Locate the red or black reset button on the bottom of the garbage disposal unit.
- Press the button firmly until it clicks or stays in place. This will reset the motor, allowing it to operate properly once power is restored.
Step 6: Test the Disposal
After addressing the jam and pressing the reset button, it's time to test the disposal to ensure it's functioning correctly and that the issue has been resolved.
- Plug the garbage disposal back into the electrical outlet under the sink or turn on the circuit breaker if the disposal is hardwired.
- Turn on the cold water faucet and let it run for a few seconds. The water will help flush any remaining debris from the disposal and provide lubrication for the blades.
- Switch on the garbage disposal using the wall switch. Listen carefully for any unusual noises or signs of additional issues.
- If the disposal is functioning correctly, the blades should spin freely, and the motor should run smoothly without any excessive noise or vibration.
Step 7: Clean Up and Maintenance
After successfully clearing the jam and restoring your garbage disposal to working order, it's essential to clean up and perform regular maintenance to prevent future issues.
- Clean the sink drain and disposal chamber using a mild dish soap and warm water. This will help remove any remaining debris or residue that could cause future jams or unpleasant odors.
- Consider using a garbage disposal cleaner or a homemade solution of baking soda and vinegar to clean and deodorize the disposal periodically. This will help maintain the unit's efficiency and prolong its lifespan.
- Regularly inspect your garbage disposal for signs of wear, damage, or loose connections. Addressing these issues quickly will help prevent future jams and ensure the unit continues to operate efficiently.
Preventing Jams: Things to Avoid
Avoid putting fibrous, starchy, or hard items in your garbage disposal, as they can cause jams or damage the blades. Examples include potato peels, onion skins, coffee grounds, eggshells, bones, and fruit pits. Run cold water while using the disposal to flush debris through the system.
Below are the most common food items to jam a garbage disposal.
- Grease and oil: Fats can solidify and clog the disposal and drainpipes, causing jams and blockages.
- Fibrous vegetables: Celery, corn husks, onion skins, and artichokes can tangle around the blades, causing them to jam.
- Eggshells: Ground eggshells can create a thick paste that clogs the disposal and pipes.
- Coffee grounds: While small amounts may not cause issues, large quantities can accumulate and create clogs.
- Fruit pits and seeds: Hard pits from fruits like peaches, cherries, or avocado seeds can get stuck and jam the disposal.
- Starchy foods: Pasta, rice, and potato peels can expand and form a sticky, glue-like substance that clogs the disposal.
- Bones: Small fish or chicken bones can jam the disposal or dull the blades.
Maintaining your Garbage Disposal
Regular maintenance can help prolong the life of your garbage disposal and prevent jams. Clean the disposal by grinding small amounts of ice and lemon or orange peels to remove odors and built-up debris.
As a general rule, do this every 2-4 weeks. However, if you notice odors or debris building up, you may need to clean it more regularly.
You can find more helful plumbing tips (that you can do yourself) in this article.